Are you looking for the best Instagram video downloader? If yes then this article is especially for you because in this article I will tell you the 11 best Instagram video downloaders.
What is an Instagram video downloader?
Instagram video downloader is a free online tool to download any public video or reel posted on Instagram.
Best Instagram Video Downloader
- FastDL
- 4k Stogram
- Inflact
- Instadownloader
- DownloadGram
- W3Toys
- Savefrom.net
- DownloadInstagramVideos
- KeepVid
- InstaOffline
- Snapinsta
1. FastDL
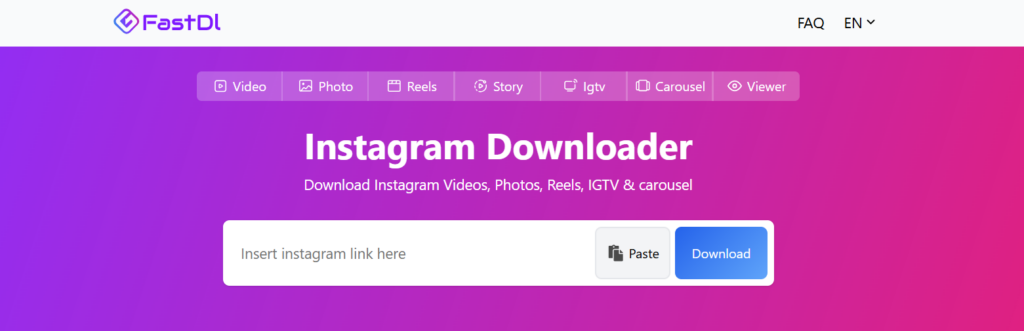
FastDL is one of the best Instagram downloader. You can download video, reels, stories and igtv. FastDL supports in almost all devices using browser.
FastDL support high quality Instagram video downloading with high speed.
2. 4k Stogram
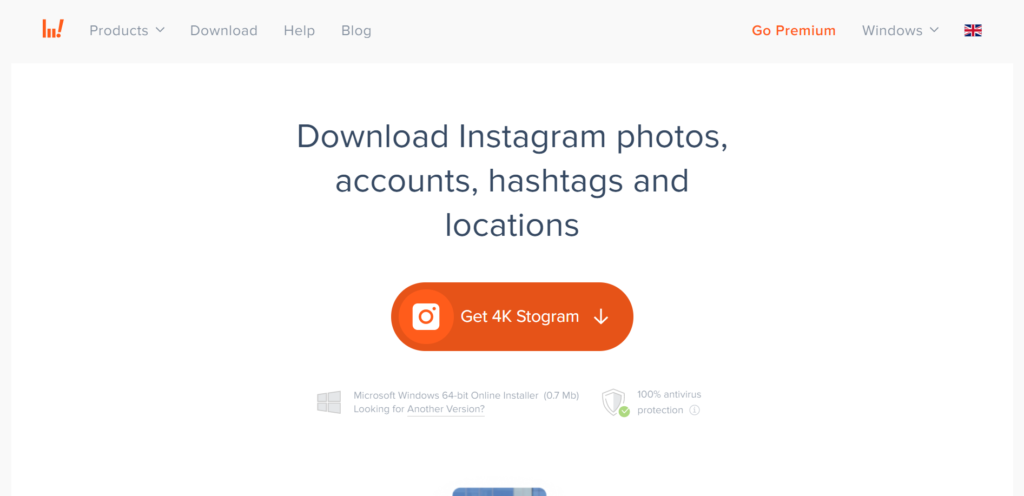
Free Instagram Downloader for macOS, PC, and Linux. Search, download, or backup Instagram photos shared by any user. Explore and download Instagram photos and video content from different places around the world. Subscribe to favourite Instagram accounts, hashtags, and locations in-app — download all their existing and upcoming posts automatically.
3. Inflact
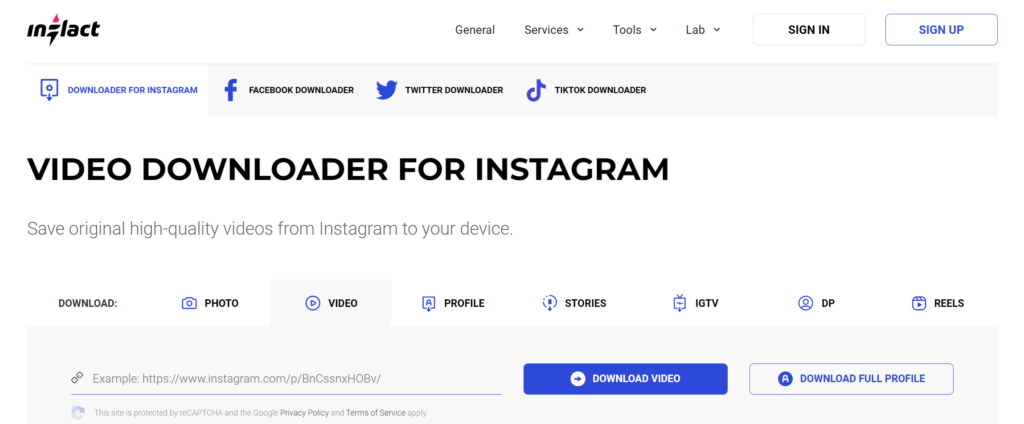
Inflact is a popular Instagram tool for video downloading, photo downloading, story downloading, and IGTV video downloading. Inflact supports downloads from Instagram regardless of the operating system and device type. It is possible to save catchy videos to your iPhone, Android, and computer. The only rule is that you might have to free up some memory on a device.
4. Instadownloader
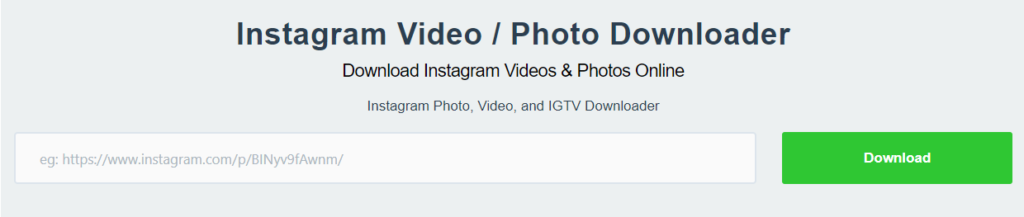
Instadownloader is the best Instagram video-downloading tool. you can use this tool to download Instagram videos and Instagram photos. All you have to do is just copy the URL of the video or photo (Image) from Instagram then paste it in the above input text box.
5. DownloadGram

Downloadgram is also an Instagram video downloader. you can also download Instagram photos, Instagram reels, and IGTV videos. The best part of this tool is you can download videos and photos in high quality.
6. W3Toys
W3Toys is a very popular Instagram video downloader. This tool is not different from others, you can also download Instagram photos and videos using this tool. The worst part of this tool is it comes with tons of ads.
7. Savefrom.net
Savefrom.net is also an Instagram video downloader and you can download anything from Instagram using this tool. Savefrom.net is not only an Instagram video downloader this tool offers video downloading from many popular platforms (i.e – Facebook, YouTube)
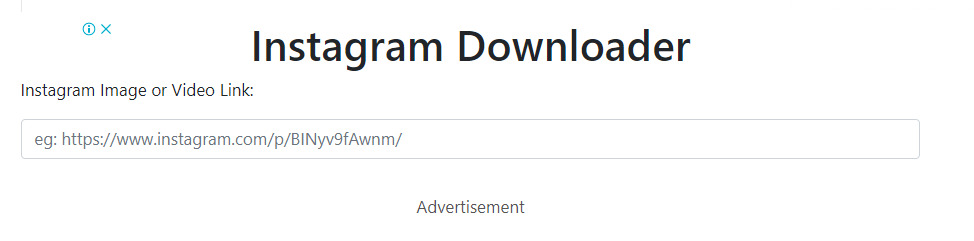
8. DownloadInstagramVideos
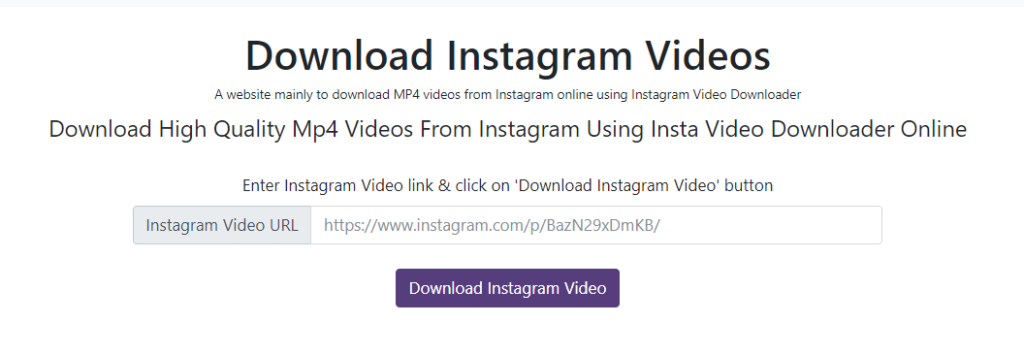
DownloadInstagramvideo.net is a website to download Instagram videos to your computer, mobile, or tablet. With DownloadInstagramVideos.net – Instagram Video Downloader, you can convert and download Instagram videos in ultra-high-quality MP4 format. They developed this tool because Instagram does not allow you to download videos or photos.
9. KeepVid
Keepvid excels at Instagram video downloading. It can also download IG stories and IGTV videos so that you can watch them offline. But that’s not all. Keepvid can also convert Instagram videos to MP3 in seconds. Try Keepvid when you need a good Instagram downloader, and you will not be disappointed. All other tools claim it, but none can match our sound quality.
10. InstaOffline
Instaoffline is a powerful web tool for downloading and saving media off Instagram. It is the best and easiest online tool for anyone wanting to download: Instagram sideshow posts (aka carousel posts), Instagram images, Instagram videos, and IGTV.
11. Snapinsta
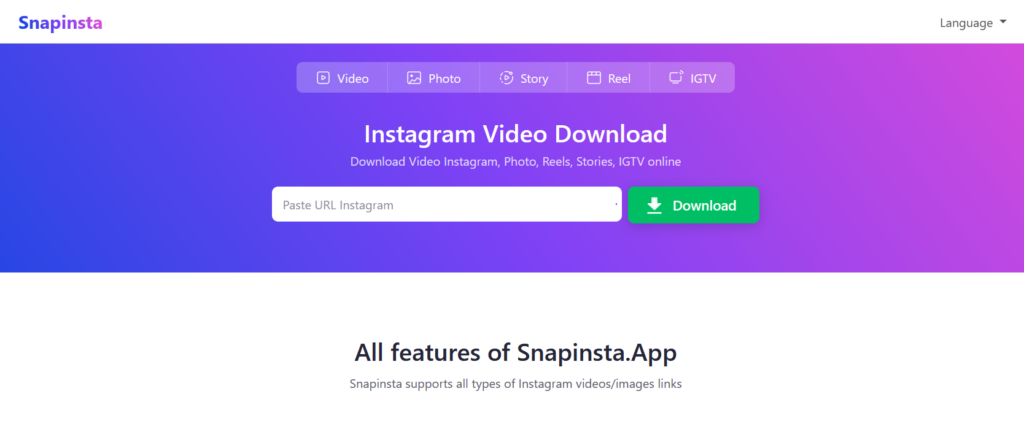
Snapinsta is not only an Instagram video downloader, you can download Instagram photos, Instagram stories and Instagram reels. You can download videos, and images in high quality.
In this article, I listed almost all the popular Instagram video downloaders. Now you need to choose which one is suitable for you.